How to Cross a Swollen Creek Safely During Spring Snowmelt
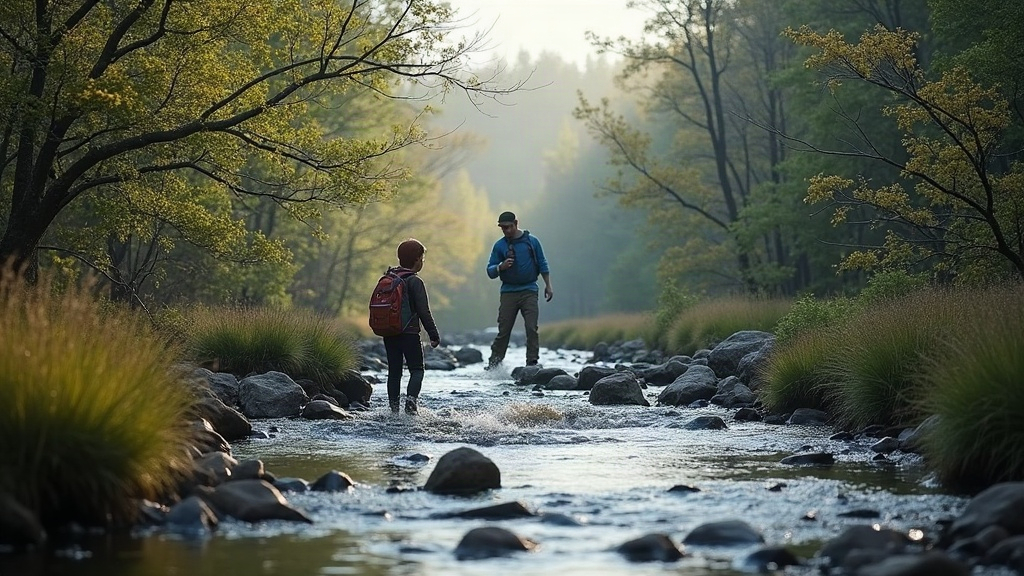
Crossing Swollen Creeks During Spring Snowmelt
Crossing a swollen creek during spring snowmelt ranks among the most dangerous situations a hiker can walk into. Cold, fast-moving water can knock an adult off their feet in seconds, even in channels that look shallow enough to splash through in sneakers. The safest approach is simple in theory: assess before you commit. Pick the widest and shallowest section you can find, unbuckle your pack, use trekking poles to keep three points of contact, and always know how you’ll bail out if things go sideways. If you’ve got any doubt at all, don’t cross. Turn back or wait it out.
Why Spring Snowmelt Creeks Are So Dangerous
Snowmelt-fed creeks don’t behave anything like the lazy streams you might wade through in August. A handful of factors stack up to make them unusually hazardous:
- Rapidly rising flow - warm afternoons melt snowpack upstream, so a creek that was ankle-deep at 8 a.m. can be thigh-deep by 2 p.m. I’ve seen this happen in under four hours on a sunny trail.
- Near-freezing water - temperatures often sit between 33-40°F (0.5-4°C), cold enough to trigger cold shock and strip away muscle control within minutes.
- Hidden debris and undercuts - high flows drag logs, rocks, and chunks of ice along the bottom, any of which can pin a foot or leg.
- Deceptive depth and speed - churning water is murkier and faster than it looks from the bank; your eyes will lie to you here.
Strong swimmers drown in these conditions all the time, and not because they can’t swim. Cold water saps strength and coordination fast, often before a person even realizes they’re in trouble.
Before You Approach the Water
Check Conditions and Timing
Snowmelt creeks run lowest in the early morning, before the day’s heat gets to work on the snowpack upstream. If a crossing is unavoidable, build your route so you reach it before 10 a.m. That two-hour window can mean the difference between knee-deep and waist-deep water.
Scout Upstream and Downstream
Before picking a spot, walk the bank in both directions, a few hundred feet each way if you can manage it. You’re looking for:
- A wide, braided section where the current splits into several smaller, shallower channels
- Gentle banks on the far side, not steep drop-offs you’d have to scramble up
- A clear run-out downstream in case you get swept off your feet - never cross above waterfalls, logjams, or narrow gorges
Know When Not to Cross
Turn around if any of the following is true:
- The water looks brown, opaque, or is visibly rising as you watch it
- You can hear rocks or debris knocking along the creek bed
- The water sits above your knee and is moving with any real force
- You’re alone and nobody knows where you are
Techniques for a Safer Crossing
Prepare Your Gear
- Unbuckle your hip belt and sternum strap so you can shrug off your pack the instant you go down
- Loosen your boot laces a bit, but keep the boots on - bare feet have zero grip on slick, rounded rocks
- Stash electronics and spare layers in dry bags inside your pack, just in case
Use a Three-Point Stance
Face upstream, or at a slight angle to it, and use trekking poles (or a sturdy branch if that’s all you’ve got) as a third point of contact. Move one point at a time: pole, foot, foot, always keeping two planted while the third shifts. Shuffle sideways across the current rather than trying to walk parallel to it.
Cross as a Group
Hiking with others? Link arms or form a “wedge”: the strongest person takes the front, facing upstream, while the rest grip shoulders or pack straps from behind. Move together, short deliberate steps, nobody rushing ahead.
Pick the Right Line
Go for the widest, shallowest point, even if that means walking an extra 50 feet to get there. The narrow, “quick” gap is usually a trap: it squeezes the current into a fast, dangerous chute exactly where you don’t want one.
What to Do If You’re Swept Off Your Feet
- Float on your back, feet pointed downstream. Your legs can absorb a hit from a rock; your skull can’t.
- Angle toward the nearest bank with a backstroke motion instead of fighting the current head-on, you’ll lose that fight.
- Ditch the pack if it’s pulling you under. It’s just gear. You’re not.
- Once you reach slower water, swim hard for shore and climb out as soon as you possibly can.
Alternative Options
If the creek just doesn’t look right, there are usually better options than forcing a crossing:
- Wait a few hours - flows often drop noticeably by evening or the following morning
- Look for a bridge or log crossing marked on a map or GPS app; a half-mile detour beats a swim
- Backtrack to a known, safer ford further upstream
- Turn around entirely - no summit, no viewpoint, no trail goal is worth risking a cold-water drowning
Conclusion
Getting across a swollen creek safely comes down to patience, mostly. Scout the crossing, time it for the lower morning flows, unclip your pack, lean on trekking poles for stability, and always keep an exit plan in your back pocket. If conditions feel even a little too risky, the smart move is to wait, or just turn around. The creek isn’t going anywhere. Make sure you aren’t either, in a way you didn’t plan for.