Beginner's Guide to Friction Fire: Bow Drill vs. Hand Drill
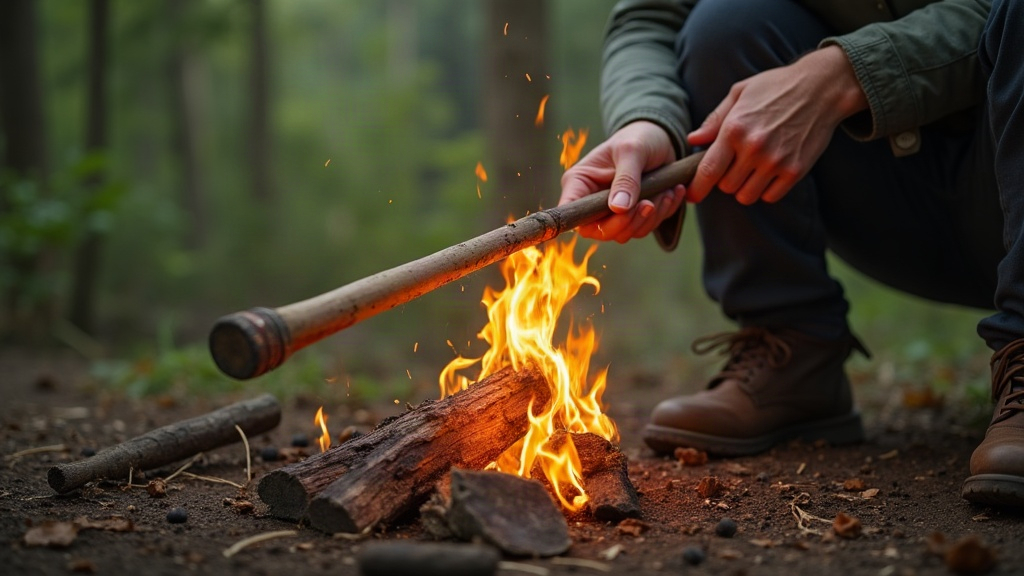
Friction Fire: Bow Drill vs. Hand Drill (and Why Most Beginners Quit Too Early)
Friction fire might be the single most satisfying skill in bushcraft. It’s also one of the most maddening for anyone who skips the mechanics and just starts sawing a stick back and forth, hoping for smoke. The two classic methods, bow drill and hand drill, both produce an ember through friction, but the gap between them in difficulty, gear, and sheer physical effort is bigger than most guides let on. Here’s how each one actually works, which to learn first, and the mistakes that keep beginners stuck watching smoke curl up without ever getting a coal.
How Friction Fire Actually Works
Strip away the gear and both methods boil down to the same trick: spin a wooden spindle against a wooden fireboard until friction generates enough heat to cook a pile of fine dust. That dust collects in a notch carved into the fireboard, and as it heats, it eventually clumps into a small glowing coal. From there, you tip that coal into a tinder bundle and coax it into flame with slow, steady breath.
So what actually separates bow drill from hand drill? It comes down to how you generate spin and downward pressure, nothing more.
Bow Drill: The Beginner-Friendly Method
The bow drill is basically a simple machine that multiplies your effort for you. That’s exactly why it’s the smarter starting point for almost everyone, not just people with weak hands.
Components:
- A bow (a curved stick with a cord strung loosely between the ends)
- A spindle (straight, somewhere between pencil and thumb thickness)
- A fireboard (flat, softwood, with a carved notch)
- A handhold (to press down on the top of the spindle)
Why it works well for beginners:
- The bow spins the spindle for you. All you do is move your arm back and forth, horizontally, like sawing.
- Downward pressure goes through the handhold, not your bare palms, so you’re not shredding your skin in the first five minutes.
- It tolerates sloppy technique far better than hand drill, because the bow keeps the spindle’s rotation speed steady even when your arm isn’t.
Common beginner mistakes:
- Wrapping the cord too tight or too loose around the spindle. One wrap, moderate tension, that’s the target.
- Using a handhold that’s either glassy smooth or too rough. A light coat of graphite or wax at the top cuts down squeaking and wasted friction.
- Cutting the notch too wide or too narrow. Aim for roughly one-eighth of the fireboard’s drilled hole, not a guess.
Hand Drill: The Advanced Method
Hand drill throws out every mechanical shortcut. No bow, no cord, nothing. You spin the spindle straight between your palms, sliding your hands down the shaft as you go, then snap them back to the top and start again. Do that for a hundred reps and you’ll understand why this method has a reputation.
Components:
- A thin, straight spindle (yucca, mullein, and cattail stalk are classic choices)
- A fireboard, usually softer than what you’d pick for bow drill
Why it’s harder:
- There’s zero mechanical advantage. Every bit of rotation speed and downward force comes from your own hands and body weight.
- It eats hand strength and skin. Expect sore palms and the need for real calluses before you get consistent results.
- Wood choice gets brutally specific. Plenty of woods that work fine for bow drill are simply too dense to ever produce a coal by hand.
Who should try it: Only attempt hand drill after you’ve pulled embers from a bow drill multiple times, not once by luck. You need to already recognize what good dust looks like and how a proper notch should be shaped before hand drill will make any sense.
Bow Drill vs. Hand Drill: Quick Comparison
| Factor | Bow Drill | Hand Drill |
|---|---|---|
| Difficulty | Moderate | High |
| Equipment needed | Bow, spindle, fireboard, handhold | Spindle, fireboard only |
| Physical demand | Arm and shoulder | Hands, palms, core |
| Best for | Beginners | Experienced practitioners |
| Wood tolerance | Forgiving | Very specific |
Wood Selection Matters More Than Technique
Here’s the part most beginners underestimate: wood choice decides success or failure more than technique does. Look for:
- Softwoods with consistent grain: cedar, basswood, willow, cottonwood, and yucca are all reliable picks.
- Dry, dead wood, not rotten, not green. A good test stick snaps cleanly. If it bends, put it down.
- Matching spindle and fireboard density. Pair a hard spindle with a soft fireboard (or vice versa) and you’ll often get squeaking and polish instead of dust.
Tips for Your First Successful Ember
- Practice the notch cut on its own before you ever spin a spindle. A clean notch is honestly half the job.
- Build your tinder bundle before you start drilling, not after you’ve already got a coal cooling in your hand.
- Keep pressure steady rather than cranking harder the moment things feel stuck. Smoke isn’t the win condition, dark fine dust is.
- Expect to fail, a lot. Most beginners burn through 10 to 20 attempts on a bow drill before that first ember finally shows up.
Conclusion
New to friction fire? Start with the bow drill. It’s mechanically forgiving, far easier on your hands, and it teaches you the real fundamentals: dust formation and ember transfer. Once you can do that consistently, hand drill is waiting as a harder, rawer next step, one that strips everything down to conditioning and feel. Either path you choose, it all comes back to the same three things: good wood, a well-cut notch, and the patience to keep trying after attempt number twelve fails.