Bannock Bread Over Coals vs. Dutch Oven: Which Bakes Better?
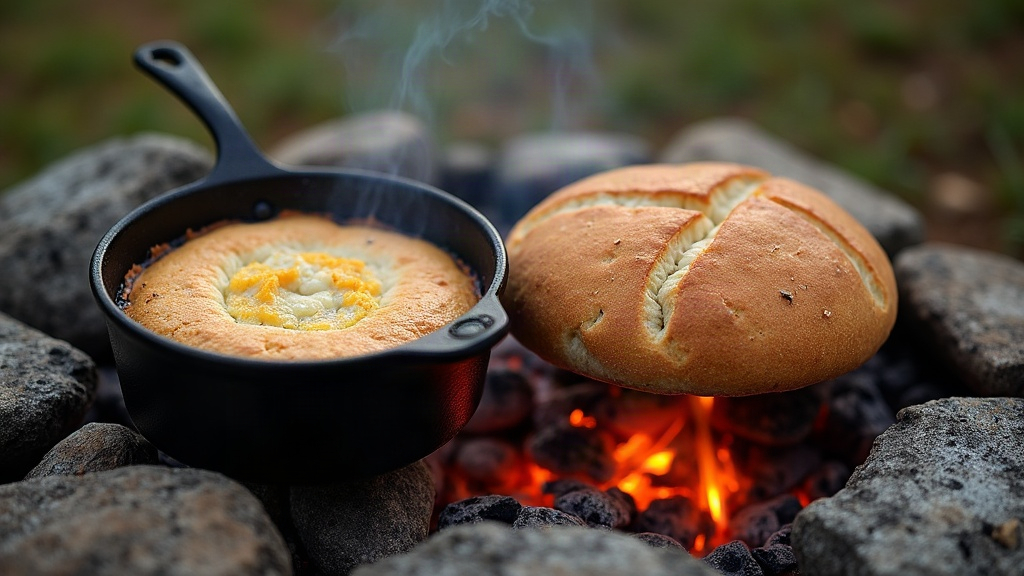
If you’ve ever sat around a campfire wondering how to turn a simple flour-water-fat mix into something worth eating, bannock bread is probably your answer. The real question isn’t whether to make it. It’s how. Bake it directly over coals and you get a rustic, smoky crust with almost no gear involved. Use a Dutch oven instead and you get a more consistent, oven-like loaf with a better rise and softer crumb. Which one’s right for you really comes down to skill level, what’s in your pack, and how much patience you have for trial and error around a fire.
What Is Bannock Bread, Exactly?
Bannock is a simple unleavened or lightly leavened flatbread made from flour, a fat (lard, oil, or butter), salt, and sometimes baking powder and water. It shows up constantly in bushcraft circles, has deep roots in Scottish tradition, and has long been part of Indigenous North American cooking too. People love it because it asks for almost nothing: a fire, some flour, maybe a splash of oil, and you’re set.
The two dominant cooking methods, over open coals and inside a Dutch oven, produce noticeably different results. Each has its die-hard fans, and honestly, both camps have a point.
Method 1: Bannock Over Coals
This is the classic bushcraft move: dough wrapped around a stick, pressed flat into a pan, or laid straight onto a hot rock near glowing embers.
How It Works
- Dough gets shaped into a flat disc, or wound around a green stick (often called “twist bread” or “stick bread”).
- You hold it or prop it near (not directly in) the hot coals, turning it often.
- Cooking happens through radiant heat alone, so distance from the embers and coal temperature decide everything.
Pros
- Minimal gear: a stick, a pan, even a flat stone will do the job.
- Authentic flavor: a touch of smoke and char gives it real rustic character.
- Fast setup: perfect when you just need a quick trailside meal.
Cons
- Uneven cooking: turn your back for five minutes and one side chars while the other’s still raw dough.
- Skill-dependent: knowing how to read coal heat and timing takes actual practice, not just instructions.
- Denser texture, more like a thick cracker or flatbread than a fluffy loaf.
Method 2: Bannock in a Dutch Oven
A cast iron Dutch oven basically turns your campfire into a real oven, relying on indirect, enclosed heat instead of direct flame.
How It Works
- Dough goes into a greased Dutch oven, lid on tight.
- Coals sit both underneath and on top of the lid (a common split is roughly one-third below, two-thirds on top).
- That enclosed space traps heat evenly all around, mimicking a conventional oven.
Pros
- Even, reliable bake: closer to real oven bread, golden crust outside, soft and airy inside.
- Better rise: trapped heat gives baking powder the conditions it actually needs to work.
- More forgiving: far less risk of burning one side while the other stays doughy.
- Scales well: makes it easy to bake a bigger loaf when you’re feeding a group.
Cons
- Heavier gear: a Dutch oven typically weighs 4-10 kg (9-22 lbs), a dealbreaker if you’re backpacking.
- Longer setup: you need coals arranged both above and below, which means more fire management up front.
- Slower cook time: usually 25-45 minutes, compared to 10-15 minutes over open coals.
Head-to-Head Comparison
| Factor | Over Coals | Dutch Oven |
|---|---|---|
| Texture | Denser, crustier | Fluffier, bread-like |
| Skill required | High (coal control) | Moderate (easier to manage) |
| Gear weight | Minimal | Heavy |
| Cook time | 10-15 min | 25-45 min |
| Best for | Backpacking, quick meals | Car camping, group cooking |
| Flavor | Smokier, charred notes | Milder, oven-like |
Which Should You Choose?
- Go with coals if you’re backpacking, traveling light, or just want that classic bushcraft experience without hauling extra equipment.
- Go with a Dutch oven if you’re car camping, feeding a group, or want predictable, bakery-style results without having to guess.
A lot of experienced campers end up doing both: coals for a quick personal snack on the trail, Dutch oven for a proper communal loaf at breakfast or dinner.
Tips for Better Results, Either Way
- Preheat your fat: greasing the pan or Dutch oven before the dough goes in keeps everything from sticking.
- Don’t overwork the dough: mix bannock just until it comes together. Overmixing gives you a tough, dense crumb instead of a tender one.
- Test for doneness with a stick, same idea as checking a cake. It should come out clean.
- Control your coals: too hot and the outside scorches before the center even starts cooking. Aim for steady, glowing embers, not open flame.
Final Verdict
Want speed and simplicity? Bannock over coals gives you an authentic, smoky loaf with barely any gear. Want consistency and a softer, more bread-like result? The Dutch oven wins, no contest. Neither method is objectively “better”. It really depends on what kind of trip you’re on and how much weight you’re willing to carry. For most weekend campers parked near a vehicle, the Dutch oven is the easier win. For minimalist backpackers counting every ounce, coals remain the time-tested classic.