Building a Raised Brush Bed to Sleep Warm on Frozen Ground
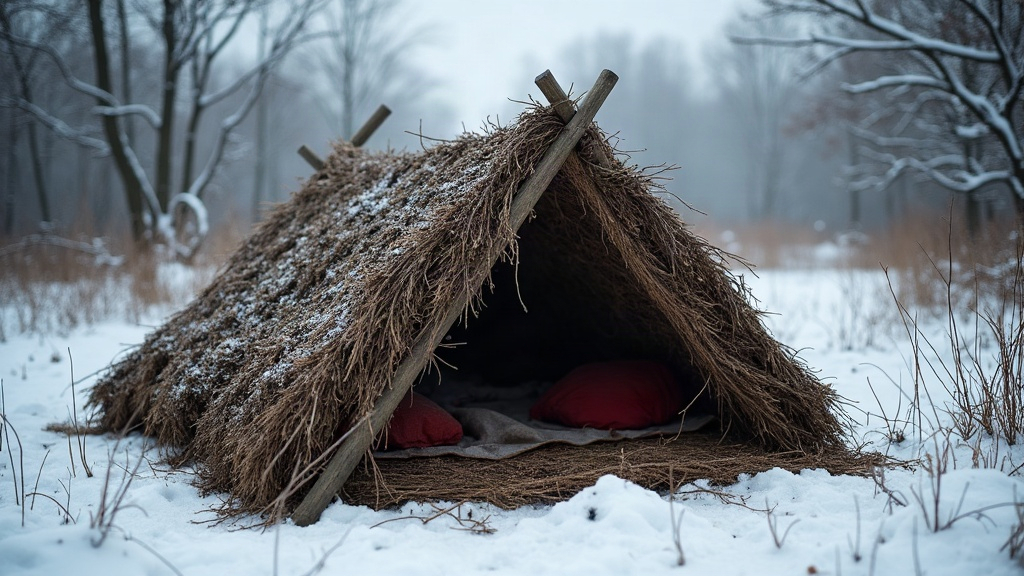
A raised brush bed is basically a platform made of branches, poles, and dry insulating material, built off the ground to stop your body heat from bleeding straight into frozen, soaked, or just plain cold earth. Get it right and you’ve got the difference between tossing and turning all night and actually sleeping. In a real survival scenario, it can keep hypothermia off your back entirely.
Why the Ground Steals Your Heat
Here’s what most people get wrong: they worry about cold air and forget the ground is the real thief. Bare dirt, wet leaves, snow, all of it pulls heat out of your body way faster than air ever could. You can have a bag rated to -10°F and still shiver all night if you’re lying on frozen soil or soaked forest floor, because your body weight compresses the insulation underneath and moisture creeps in from below, ruining whatever loft you had left.
There are really only two things you can do about it:
- Elevate your body so it’s no longer in direct contact with the cold surface.
- Insulate the gap underneath with material that holds still air.
Choosing the Site
Before you cut a single branch, walk the area and pick ground that’s working with you:
- Slightly elevated, so runoff or meltwater drains away instead of pooling under the bed.
- Avoid low pockets and hollows, cold air sinks and sits there overnight like a puddle.
- If you’ve got a fire reflector wall going, set the bed close enough that the radiant heat actually reaches you while you sleep.
- Scan overhead for dead standing trees, “widowmakers” that can drop a limb on you in the middle of the night.
Step-by-Step: Building the Frame
- Set the base rails. Find two long, straight poles, roughly 6-7 feet, about as thick as your wrist, and lay them parallel, spaced about shoulder-width apart. These carry the whole structure.
- Raise the rails on cross logs. Prop each end up on shorter logs or forked stakes, lifting the rails 6-12 inches off the dirt. Even that small gap changes the whole game: cold, damp air slides underneath instead of hugging your back all night.
- Lay the cross-decking. Gather a good armful of straight sticks, finger to thumb thickness, and lay them perpendicular across the rails, packed tight, side by side, until you’ve got a solid raft-like deck.
- Check for stability. Walk your hand (or your knee) along the whole length and press down. Wherever it flexes or dips, slide another support pole underneath.
Layering the Insulation
The frame by itself does nothing for warmth, it just gets you off the ground. The insulation is what actually does the work.
- Bottom layer: Pile on 8-12 inches of dry material, pine boughs (bark-side down, needles up), dry ferns, dead grass, leaf litter, whatever’s dry and available. Don’t be stingy: it compresses under your body weight, so what looks like plenty tonight might flatten to half by 2 a.m.
- Shingling technique: Lay the boughs like roof shingles, butt ends toward your feet, tips overlapping up toward your head. This sheds rain and dew and leaves little air pockets that trap warmth.
- Top layer: Right where your body actually lies, add a finer layer, dry grass, moss, shredded bark, something to smooth out lumps and give you one more buffer of dead air.
- Cover if possible: Toss a tarp, poncho, or sheet of bark over the boughs, then put your sleeping bag or blanket on top of that. It keeps overnight condensation and dew from soaking into your insulation.
Sizing It Right
Build it a bit longer and wider than you are, roughly 7 feet by 3 feet for an average adult. Too narrow and you’ll roll off onto bare cold ground while you’re half asleep. Too wide and you’ve just wasted time and materials you didn’t need to gather.
Common Mistakes to Avoid
- Using green, springy branches for the deck. They bow and sag under your weight after a few hours, and you’ll wake up sunk in the middle.
- Skimping on insulation depth. A couple inches of pine needles, once compressed, does almost nothing. Think pile, not sprinkle.
- Building on a slope with no footer log. Without something to stop you, you’ll spend the night slowly sliding downhill.
- Ignoring drainage. A bed set in a dip collects water underneath and undoes all your work.
When You Don’t Have Time for a Full Platform
If you’re pressed for time or daylight’s running out, even a stripped-down version helps: a thick mat of boughs piled straight onto packed ground, skip the raised rails, still cuts your heat loss noticeably. But if the ground’s frozen, the terrain’s wet, or you’re staying more than one night, spend the extra 20-30 minutes and build the raised frame. It’s worth it.
Final Thoughts
Of all the cold- or wet-weather bushcraft skills worth learning, the raised brush bed ranks near the top, because it tackles the threat most people never think about: heat draining out through the ground while they sleep. Two rails, a stick deck, and a generous pile of dry insulation, that’s really all it takes to turn frozen or soaked earth into a warm, dry place to rest. No foam pad, no gear shop required.