How to Keep an Isobutane Stove Burning Hot Below Freezing
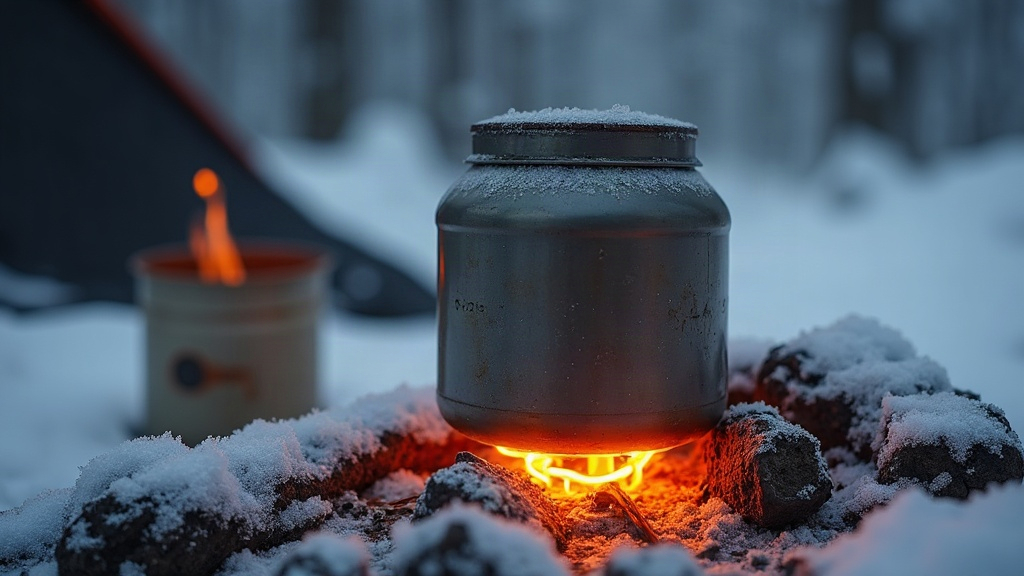
If your isobutane stove sputters, weakens, or just gives up the moment the mercury drops below freezing, you don’t need a new stove. You need to manage canister pressure. A simple copper heat strip (some call it a “pressure regulator loop,” others just say “wraparound wire”) channels a bit of the stove’s own flame heat back into the fuel canister, keeping internal pressure high enough to sustain a real flame even in sub-freezing conditions.
Why Isobutane Stoves Fail in the Cold
Isobutane and propane blends vaporize using internal pressure, not some external pump. That pressure depends entirely on how warm (or cold) the liquid fuel inside the canister actually is:
- At 70°F (21°C), a standard 80/20 isobutane/propane mix runs strong and even.
- At 32°F (0°C), pressure drops noticeably. You’ll see a weaker flame and your water takes longer to boil.
- Below 20°F (-6°C), pure isobutane canisters often can’t build enough vapor pressure to burn at all, even with plenty of fuel still sloshing around inside.
This isn’t a defect in your gear. It’s physics. The canister gets too cold to vaporize its contents efficiently, and as fuel burns off, the remaining liquid cools even further through evaporative cooling. It’s a feedback loop, and it kills performance fast, sometimes within minutes of lighting up.
The Copper Heat Strip Solution
A copper heat strip works by physically bridging the hot stove body and the cold canister. Copper conducts heat extremely well, so it transfers a controlled trickle of warmth downward. That keeps the liquid fuel warm enough to hold usable pressure, without cooking the canister to dangerous temperatures.
What You Need
- A strip or braided wire of pure copper (roughly 1/8 to 3/16 inch wide, 8 to 10 inches long)
- Fine wire or a small hose clamp to hold it in place
- A stove with an upright canister-top design (remote or inverted canister stoves need a completely different setup)
How to Build It
- Wrap one end around the stove’s burner head or pot support, somewhere it’ll soak up radiant heat while the stove runs. Keep it off the direct flame. You want conducted heat, not something sitting in combustion.
- Run the strip down to the canister body, touching the metal sidewall only. Never the valve, never the regulator stem.
- Secure it loosely with wire. It needs to stay in contact, but you should be able to yank it off in seconds if something feels wrong.
- Test it somewhere controlled first. Light the stove, then check the canister temperature by touch every couple of minutes. Warm is fine. Uncomfortably hot means stop.
Why This Works Better Than Other Methods
Compared to the usual cold-weather workarounds, copper heat strips hold up well:
- Chemical hand warmers taped to canisters do work, but they add weight, cost money per use, and the heat output is inconsistent.
- Stashing the canister in your jacket before lighting helps for the first few minutes, then does nothing once pressure starts dropping mid-burn.
- Water baths are effective in theory, impractical in the backcountry, and frankly risky with an open flame nearby.
- Copper strips recycle heat your stove is already producing anyway. No consumables, no batteries, and they keep working for the entire burn, not just the first five minutes.
Safety Guidelines You Shouldn’t Skip
This mod walks a narrow line between “works great” and “bad idea,” so stick to these rules:
- Never let the canister climb past roughly 120°F (49°C). If it’s too hot to hold comfortably, pull the strip off immediately and let it cool.
- Use pure copper only. Other metals either conduct too little heat to matter or carry a corrosion risk near fuel components, which is the last thing you want.
- Skip this mod on remote canister stoves. When the canister sits off to the side on a hose, the whole setup doesn’t translate.
- Set up on stable, heat-resistant ground, well away from tents and dry brush, same as you’d do with any winter stove use.
- Watch the flame color. A strong blue flame means good pressure. A weak yellow or orange flicker tells you the mod isn’t moving enough heat yet, give it a minute or reposition the strip.
Additional Tips for Winter Stove Performance
- Put something between the canister and the snow or ice, a foam pad or a scrap of closed-cell foam works fine. Direct ground contact drains heat fast, faster than most people expect.
- Sleep with a spare canister in your bag or jacket overnight so it’s already warm when you need it in the morning.
- Block the wind with a basic windscreen, but don’t fully wrap the canister. You’re cutting convective heat loss, not sealing it in.
- Use a canister stand to keep things upright and steady. Uneven footing gets a lot riskier once you’ve also got a heat strip hanging off the side.
Conclusion
A copper heat strip is a cheap, light fix for one of the most annoying problems in winter backpacking: watching your stove die right when you need hot water the most. By routing a little of the stove’s own heat back into the canister, you keep the vapor pressure isobutane needs to burn hot and steady, even well below freezing. Build it with care, test it before you’re relying on it miles from the trailhead, and never trade safety for convenience. Get it right, and this one small mod can be the difference between a hot dinner and a long, cold, miserable night.