Dehydrating Mushrooms for the Trail Without a Dehydrator
How to Dehydrate Mushrooms for Backpacking Without a Dehydrator
You don’t need a fancy dehydrator to prep mushrooms for the trail. A home oven on its lowest setting works fine, and in the right climate, plain air-drying does too. Mushrooms just don’t hold onto sugar and moisture the way fruit does, so they’re some of the easiest foods to dry with nothing but a knife and a baking sheet. Great for lightweight backpacking meals, soups, and quick rehydrated sautés when you’re miles from a stove-top pan.
Why Dry Mushrooms for Backpacking
Fresh mushrooms are about 90% water. Dry them out and you slash the weight while the flavor gets more concentrated, not less. A full pound of fresh button or cremini mushrooms shrinks to roughly two ounces once dried, and it snaps back to life in 10 to 15 minutes of hot water. Handy for:
- Instant ramen or noodle upgrades
- Backcountry risottos and rice dishes
- Trail soups and broths
- Adding umami depth to dehydrated meat or bean meals
Best Mushrooms for Trail Drying
Not every mushroom dries the same way. A few reliable picks:
- Button and cremini – easy to find, dry fast, mild flavor that plays well with everything
- Shiitake – meaty and deeply savory once dried, arguably the best bang for your buck
- Portobello – good texture but denser, so slice these thinner than the rest
- Oyster mushrooms – thin flesh means quick drying
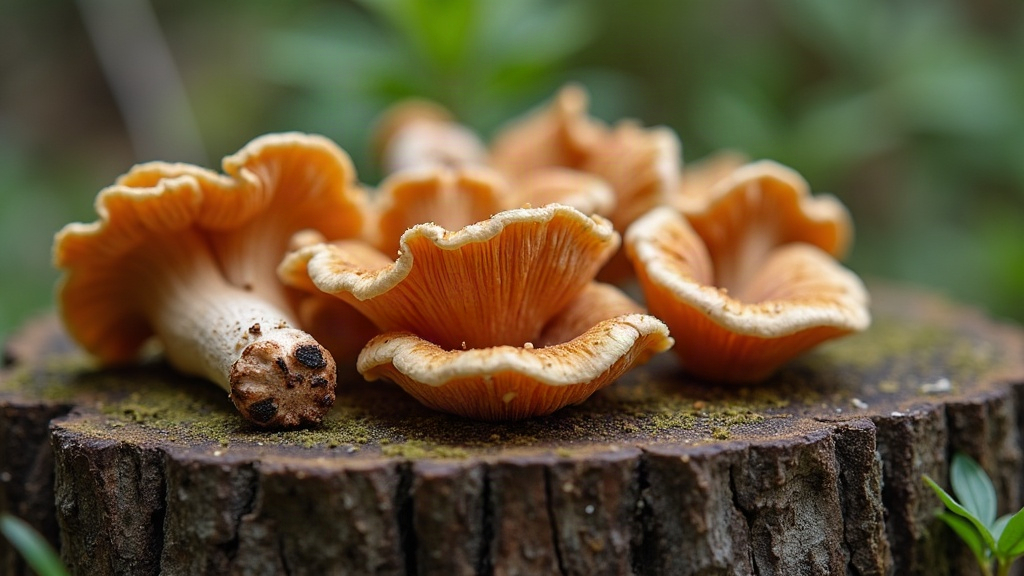
- Wild mushrooms (chanterelles, morels) – fantastic flavor, but only dry what you can positively identify as safe. This isn’t the place to guess.
Skip anything slimy or already past its prime. Drying preserves what you start with, it doesn’t fix a mushroom that’s already gone downhill.
Method 1: Oven Drying (No Dehydrator Required)
This is the method most people can do tonight with what’s already in the kitchen.
- Clean, don’t soak. A damp cloth or soft brush is enough. Soaking just adds back the water you’re trying to get rid of.
- Slice thin and even, somewhere around 1/8 to 1/4 inch. Uneven slices dry unevenly, and you’ll end up with some pieces rubbery and others burnt to a crisp.
- Lay them in a single layer on a wire rack over a baking sheet, or directly on parchment. No overlapping, no touching.
- Set the oven as low as it goes, ideally 135-150°F (57-65°C). A lot of ovens can’t get that low. If yours stalls around 170°F, crack the door with a wooden spoon wedged in there. That lets steam escape and drops the effective temperature inside.
- Give it 4 to 8 hours. Start checking every hour once you hit the 3-hour mark, and flip the pieces halfway through so they dry evenly.
- Check for doneness. Leathery to brittle, no soft or damp patches anywhere. Bend a piece: it should snap or crack, not just fold like a piece of leather.
Method 2: Air-Drying (Zero Electricity)
If you live somewhere dry, you can skip heat entirely.
- Slice thin, same as above.
- Thread slices onto string or fishing line with a needle, then hang them somewhere warm, dry, well-ventilated, and out of direct sun.
- Or just lay slices on a screen or mesh rack with air moving underneath.
- Expect 2 to 5 days depending on humidity and airflow. This works best when the ambient humidity stays under 60%.
If it’s humid or rainy where you are, don’t bother with air-drying, the mold risk climbs fast. Go with the oven instead.
Storage for the Trail
Once the mushrooms are fully dry:
- Let them cool all the way before bagging them up. Warm mushrooms in a sealed bag trap condensation, and that undoes all your work.
- Pack into resealable freezer bags or vacuum-sealed pouches, squeezing out as much air as you can.
- Keep them somewhere cool and dark. Properly dried, they’ll keep 6 to 12 months.
- On longer trips, toss in a food-safe silica packet, or even a few grains of rice, to soak up any stray moisture.
Rehydrating on Trail
Just drop the dried pieces into boiling water or your simmering pot 10 to 15 minutes before eating. No presoaking required, the heat and time do all the work themselves. Making soup? Add them right at the start of cooking and let them simmer along with everything else.
Conclusion
A dehydrator is nice to have, but it’s not required. An oven turned down low and slow, or straightforward air-drying if your climate cooperates, gets you trail-ready mushrooms either way. Slice them thin, dry them until they’re properly brittle, store them airtight, and you’ve got a lightweight, flavor-loaded ingredient that’ll make almost any backcountry meal taste better.